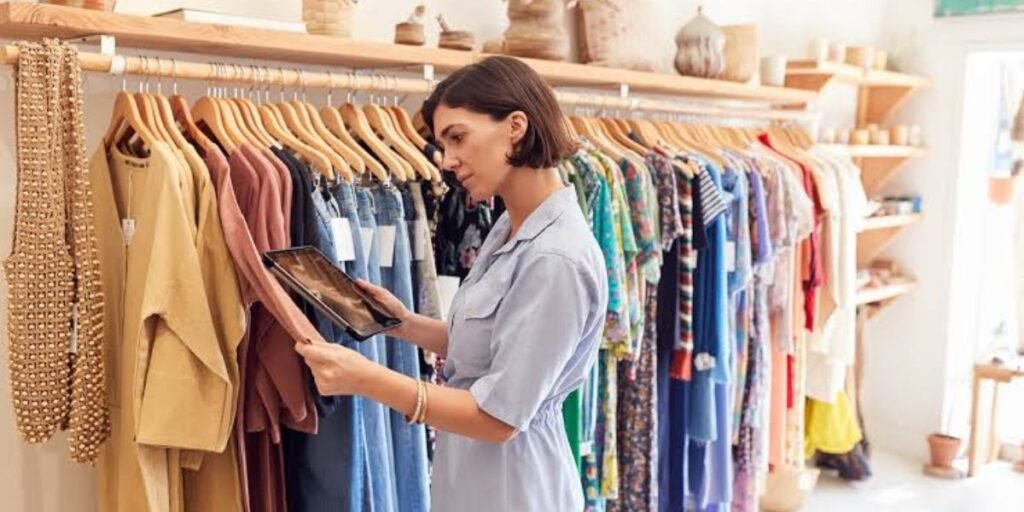
Love luxury fashion but not the sky-high price tags? Designer dupes are the perfect way to recreate expensive looks while staying within your budget. From elegant blazers and sleek handbags to chic dresses and trendy…
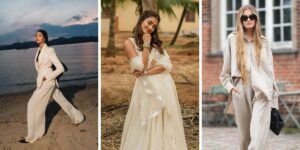
Affordable luxury fashion proves that looking elegant doesn't require a designer budget. With the right fabrics, timeless silhouettes, and polished styling, you can create outfits that appear expensive while staying within your budget. From tailored…
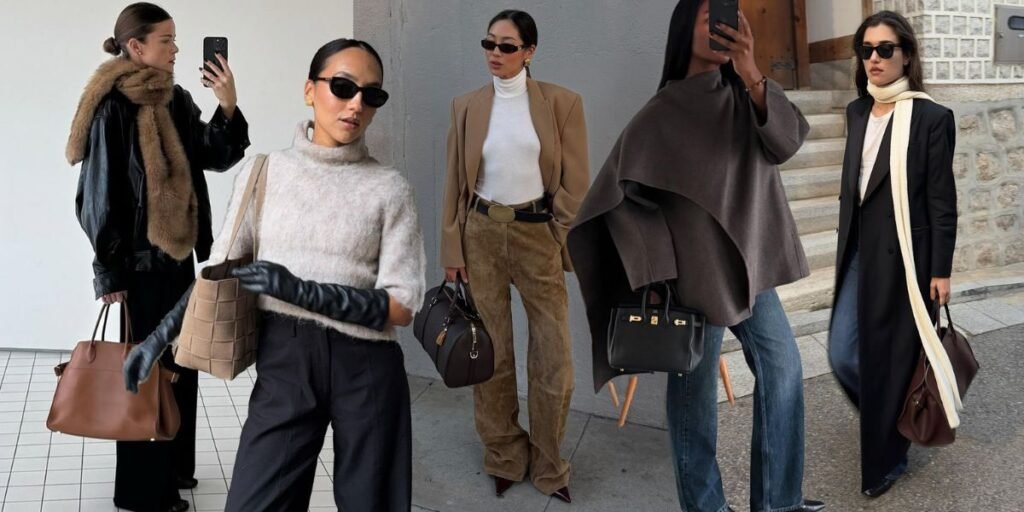
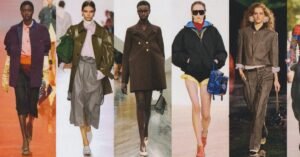
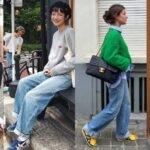
Fall is the perfect season to refresh your style with cozy layers, rich colors, and versatile pieces that balance comfort and fashion. The biggest fall outfit 2026 trends focus on effortless elegance, oversized silhouettes, textured…
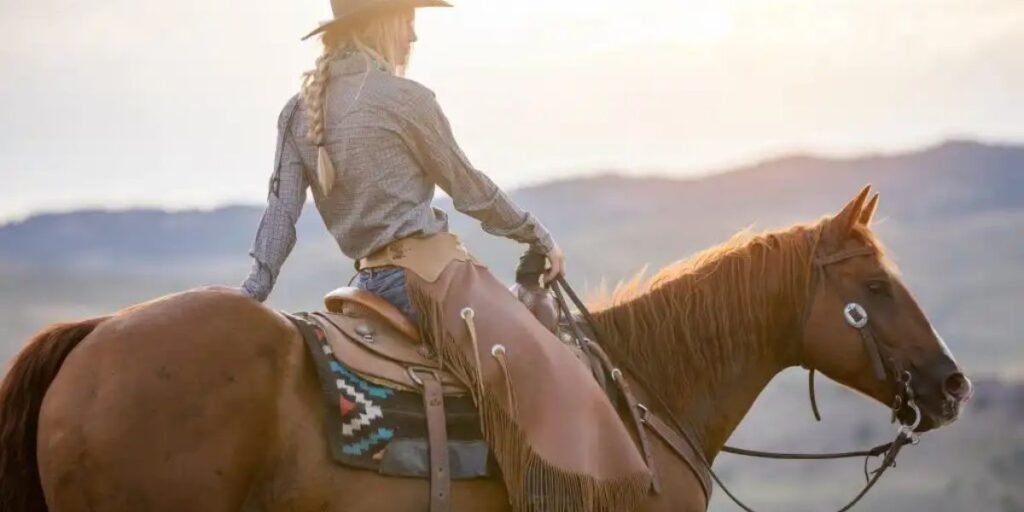
Western cowgirl fashion has become one of the hottest style trends, blending classic ranch-inspired pieces with modern fashion. From denim jeans and cowboy boots to fringe jackets and flowy dresses, western cowgirl fashion offers endless…
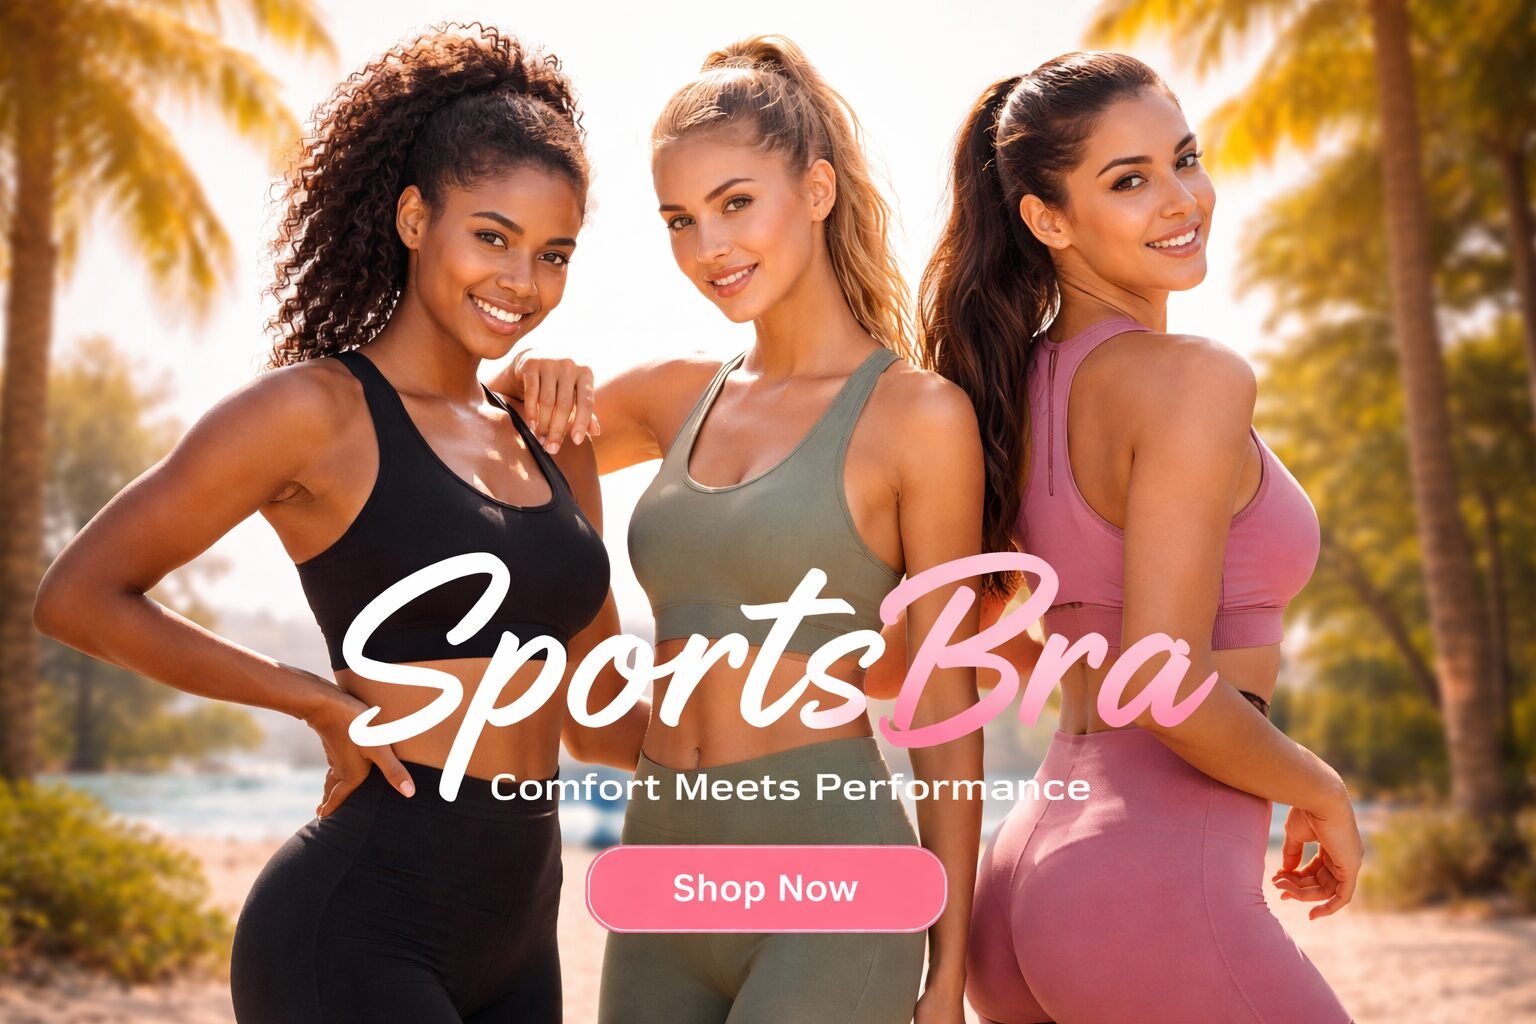
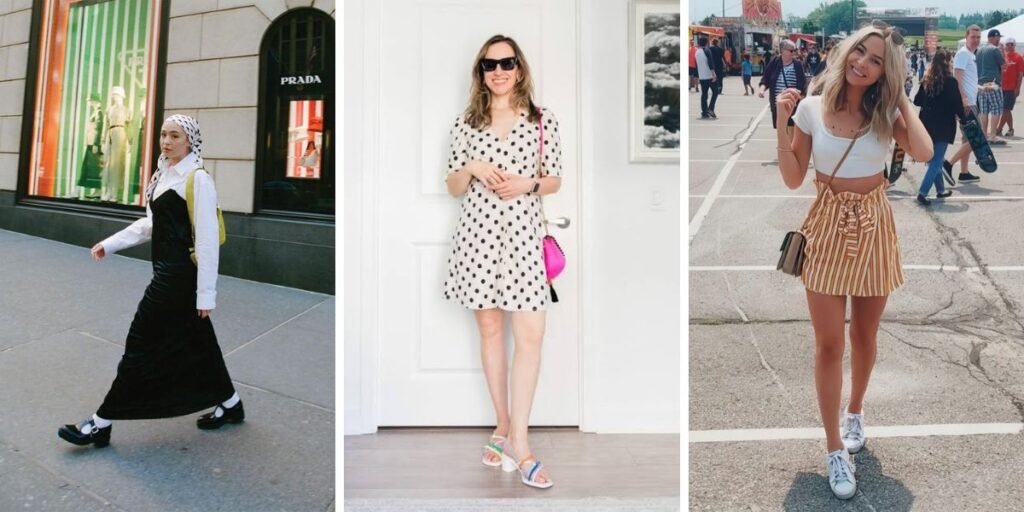
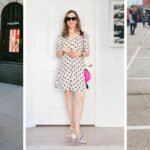
Summer is the perfect time to refresh your wardrobe and embrace fun, confident fashion. Whether you're heading to the beach, brunch with friends, a rooftop party, or a weekend getaway, the right outfit can make…
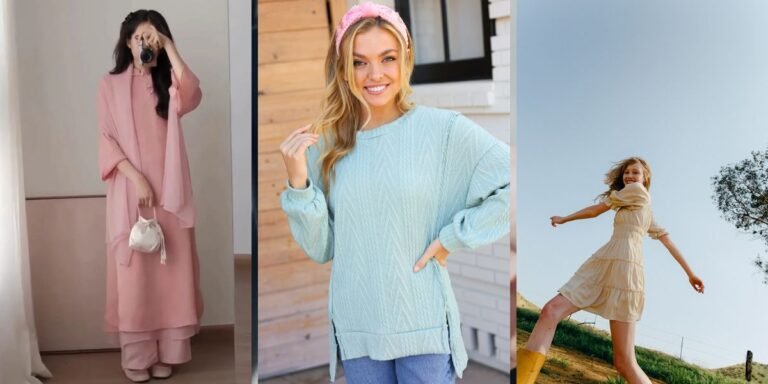
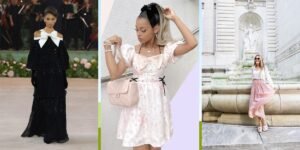
The Vanilla girl aesthetic has become one of the most loved fashion trends thanks to its clean, polished, and timeless appeal. Built around neutral colors, cozy fabrics, and simple silhouettes, this style creates an effortlessly…